|
This topic shows how to add a new company file in ManagePLUS.
Notes
| · | ManagePLUS company files match up with QuickBooks companies 1 to 1. So if you have only one QuickBooks company—the typical case—you will have only one ManagePLUS company file. But if you work with several QuickBooks companies, you may set up a ManagePLUS company for each of them.
|
| · | Adding a new company file in ManagePLUS establishes a “connection” with a specific QuickBooks company. This lets ManagePLUS check to be sure it is working with the right company file before refreshing (retrieving) records from QuickBooks.
|
Adding a new company file
| 1. | Start QuickBooks and open the company, that you plan to work with there.
|
 | While working through these tutorials, you may want to use a sample company file supplied with ManagePLUS. |
|

|
When working with ManagePLUS it’s always a good idea to have QuickBooks running, with the desired company file open there.
That will let ManagePLUS access QuickBooks data much more quickly. |
The first time you start ManagePLUS the No Company Open window should appear. 
If you want to add a new company and the No Company Window is not showing, choose from the main menu.
| 3. | Click on the Add New Company button. |

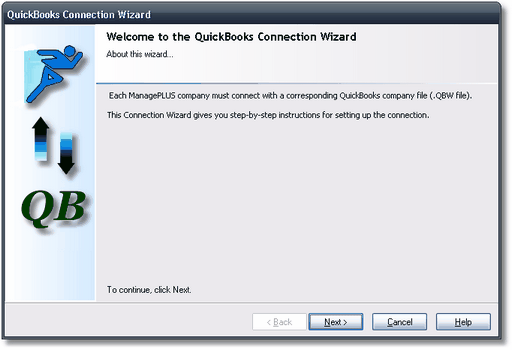
This will open the QuickBooks Connection Wizard, to help you establish a connection between the new ManagePLUS company and your QuickBooks company. (Just so you’ll know…the Connection Wizard is a part of ManagePLUS, not QuickBooks.) 
| 4. | Follow the instructions in the Connection Wizard to establish a connection and set up the QuickBooks company to allow automatic data access by ManagePLUS.
|
| | After completing the Connection Wizard, ManagePLUS should display a “connected” message: |

| 5. | Click OK to close the “connected” message.
|
ManagePLUS will then have the new file open and ready for work. | 


